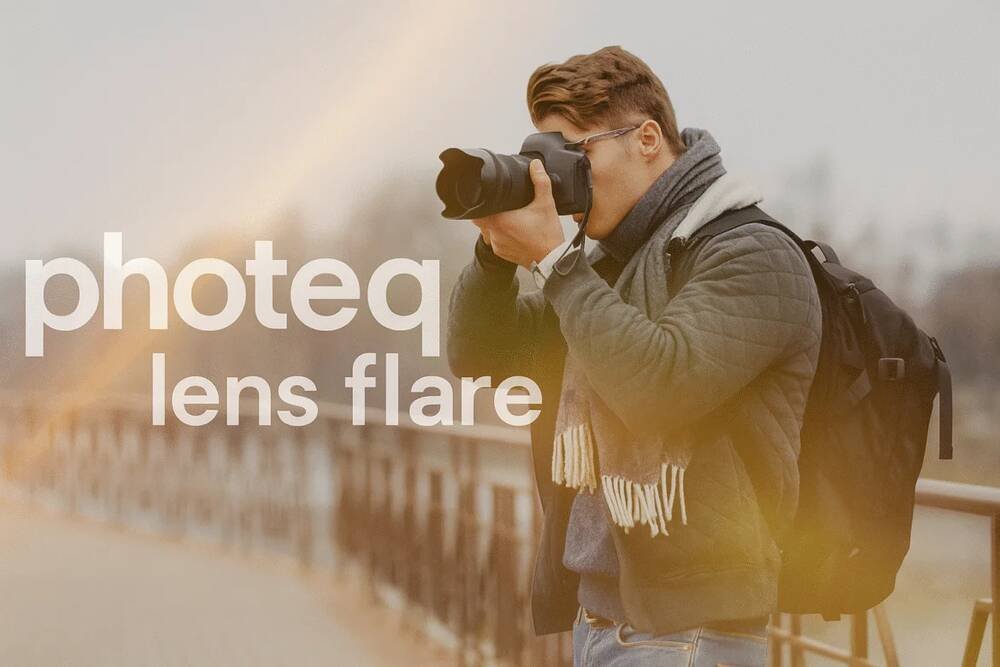
Photeeq Lens Flare – Add Realistic Light Effects Easily
Introduction to Photeeq Lens Flare
In today’s visually-driven world, photo editing tools have evolved to meet the demand for cinematic, high-impact visuals. One of the most captivating effects in modern photography is the lens flare—light streaks or glares that mimic how real lenses capture light. Enter Photeeq Lens Flare, a revolutionary plugin designed to give creators an edge in adding dynamic light effects to their images. Whether you’re a beginner looking to spice up your photos or a professional photographer seeking that extra layer of realism, Photeeq offers a powerful and flexible way to simulate natural lighting through advanced flare simulations.
Understanding Lens Flare in Photography
Lens flare traditionally occurs when non-image forming light scatters inside a camera lens system. This phenomenon, often unintentional, can sometimes create beautiful visual effects when used creatively. There are two types: natural lens flare, which happens during image capture, and artificial lens flare, added during post-processing. In digital editing, lens flare has become a design tool, not just a technical mishap. From cinematic movie scenes to sun-kissed Instagram shots, flare adds warmth, emotion, and realism. It guides the viewer’s eye and enhances storytelling, making it a must-have element in the editor’s toolbox.
Overview of Photeeq as a Photo Editing Tool
Photeeq is a specialized plugin that integrates seamlessly into popular editing platforms like Adobe Photoshop, Lightroom, and other software supporting plugin architecture. What sets Photeeq apart is its AI-assisted processing, enabling real-time preview, customization, and highly realistic flare generation. Unlike static flare overlays that can look generic, Photeeq adapts to image lighting and angles, helping editors embed the effect into the composition naturally. This modern approach to lens flare lets photographers maintain creative control without being bogged down by manual adjustment layers or complex masking.
Key Features of Photeeq Lens Flare
Photeeq Lens Flare brings numerous features that appeal to editors of all skill levels. One standout capability is its real-time light simulation that mimics optical flare behavior. Users can select from a library of customizable presets, each adjustable in intensity, hue, shape, and position. You can tweak everything from light rays to ghosting to match the desired aesthetic. It also supports layer-based editing, allowing for non-destructive enhancements. This means you can apply, remove, or adjust the flare effect without altering the original image. Additionally, Photeeq exports in high-resolution formats and is optimized to work smoothly even on mid-range systems.
How to Use Photeeq Lens Flare: Step-by-Step Guide
Getting started with Photeeq Lens Flare is straightforward. After installing the plugin within your preferred software, open the image you wish to edit. From the plugin panel, choose the “Lens Flare” feature. A list of presets appears—sunspots, starbursts, ghost reflections, and more. Once selected, a live preview will show you the effect in action. You can then reposition the flare manually, adjust brightness, tweak transparency, and change color temperature to fit your image style. Want subtle golden rays for a beach portrait? Or a dramatic burst for a sunset skyline? Photeeq makes it effortless. Lastly, apply the effect on a duplicate layer to retain full editing flexibility.
Best Practices for Realistic Lens Flare Effects
To master Photeeq Lens Flare, it’s crucial to understand light dynamics. First, ensure that the direction of your flare aligns with the actual light source in your photo. A misplaced flare can make the image feel unnatural. Second, be cautious with intensity—an overpowering flare can distract rather than enhance. Aim for subtle enhancements that complement the subject. Third, always consider the image’s color tone. If your photo has cool tones, adding a warm flare might create an unpleasant contrast unless done intentionally. Matching the flare’s hue with your scene’s palette improves harmony and keeps the edit visually pleasing.
Creative Use Cases of Photeeq Lens Flare
Photeeq’s flexibility makes it suitable for a wide range of photography genres. In landscape photography, adding a soft sun flare can intensify the golden hour glow, making fields, mountains, and oceans come alive. For portraits and weddings, a well-placed lens flare introduces a dreamy, romantic touch—ideal for storytelling. Social media influencers and content creators also use Photeeq to give their visuals a cinematic edge. A single light burst can transform a mundane shot into something magazine-worthy. Whether it’s fashion, travel, or product photography, the creative applications are nearly endless.
Common Mistakes to Avoid
Despite Photeeq’s ease of use, certain missteps can degrade your image quality. One of the most frequent errors is overusing the flare, which can obscure key subjects or flatten depth. Another common mistake is applying the effect without matching the natural light angle, resulting in an artificial look. Low-resolution exports with strong flares can also lead to visual artifacts. Always zoom in to inspect your final output and ensure that light transitions are smooth. And remember, a good lens flare should enhance—not dominate—the image.
Comparison: Photeeq vs Other Lens Flare Tools
Photeeq stands out among competitors like Knoll Light Factory, Luminar AI, and even Photoshop’s default flare tool. While Knoll Light Factory offers high-end cinematic effects, it comes with a steep learning curve and price. Luminar AI adds flares through scene detection, but lacks the manual precision some photographers crave. In contrast, Photeeq strikes the perfect balance between automation and control. Unlike Photoshop’s built-in flare, which is static and hard to reposition, Photeeq’s presets are interactive and responsive. For users wanting high-quality results without deep technical expertise, Photeeq is the clear winner.
Troubleshooting and Performance Tips
If you encounter any performance issues with Photeeq, start by checking your software version compatibility. Ensure your host application is updated and supports plugin integrations. For smoother performance, close background apps during editing. If a flare looks unnatural, revisit your lighting and shadows. Use blending modes like “Screen” or “Soft Light” for seamless integration. Also, always work on duplicate layers to undo unwanted changes without affecting your original image. For RAW files, apply Photeeq after basic color correction for the most natural output.
Is Photeeq Lens Flare Worth It in 2025
Given the current landscape of photo editing tools, Photeeq Lens Flare is not only worth it—it’s essential for anyone serious about enhancing their images with light effects. The plugin offers both free and premium versions, with the latter unlocking advanced features and professional-grade presets. For hobbyists, the free version provides enough power to create Instagram-ready edits. For professionals, the investment in the premium version pays off in time saved and the quality of output. With frequent updates and an active community, Photeeq remains future-proof in 2025.
Final Thoughts
Photeeq Lens Flare is more than a photo editing tool—it’s a creative enhancer that empowers photographers, designers, and visual storytellers to push their art further. With intuitive controls, realistic light effects, and flexible editing workflows, it stands tall as a must-have plugin in the modern editor’s toolkit. Whether you’re looking to add emotion, atmosphere, or just a bit of cinematic magic, Photeeq delivers with both style and substance.
Frequently Asked Questions (FAQs)
Q: Is Photeeq Lens Flare free to use?
A: Yes, Photeeq offers both a free version and a paid Pro version with extended features.
Q: Can I use Photeeq on mobile apps?
A: Currently, Photeeq is designed for desktop-based software like Photoshop and Lightroom.
Q: Does Photeeq support RAW images?
A: Yes, but it’s best to apply the flare effect after initial RAW processing.
Q: Are tutorials available for Photeeq beginners?
A: Yes, the official website and YouTube channels offer plenty of step-by-step guides and video walkthroughs.
Do Read: tex9.net – Explore the Future of Tech, AI, and Innovation